Cubist Facade Generator Pro
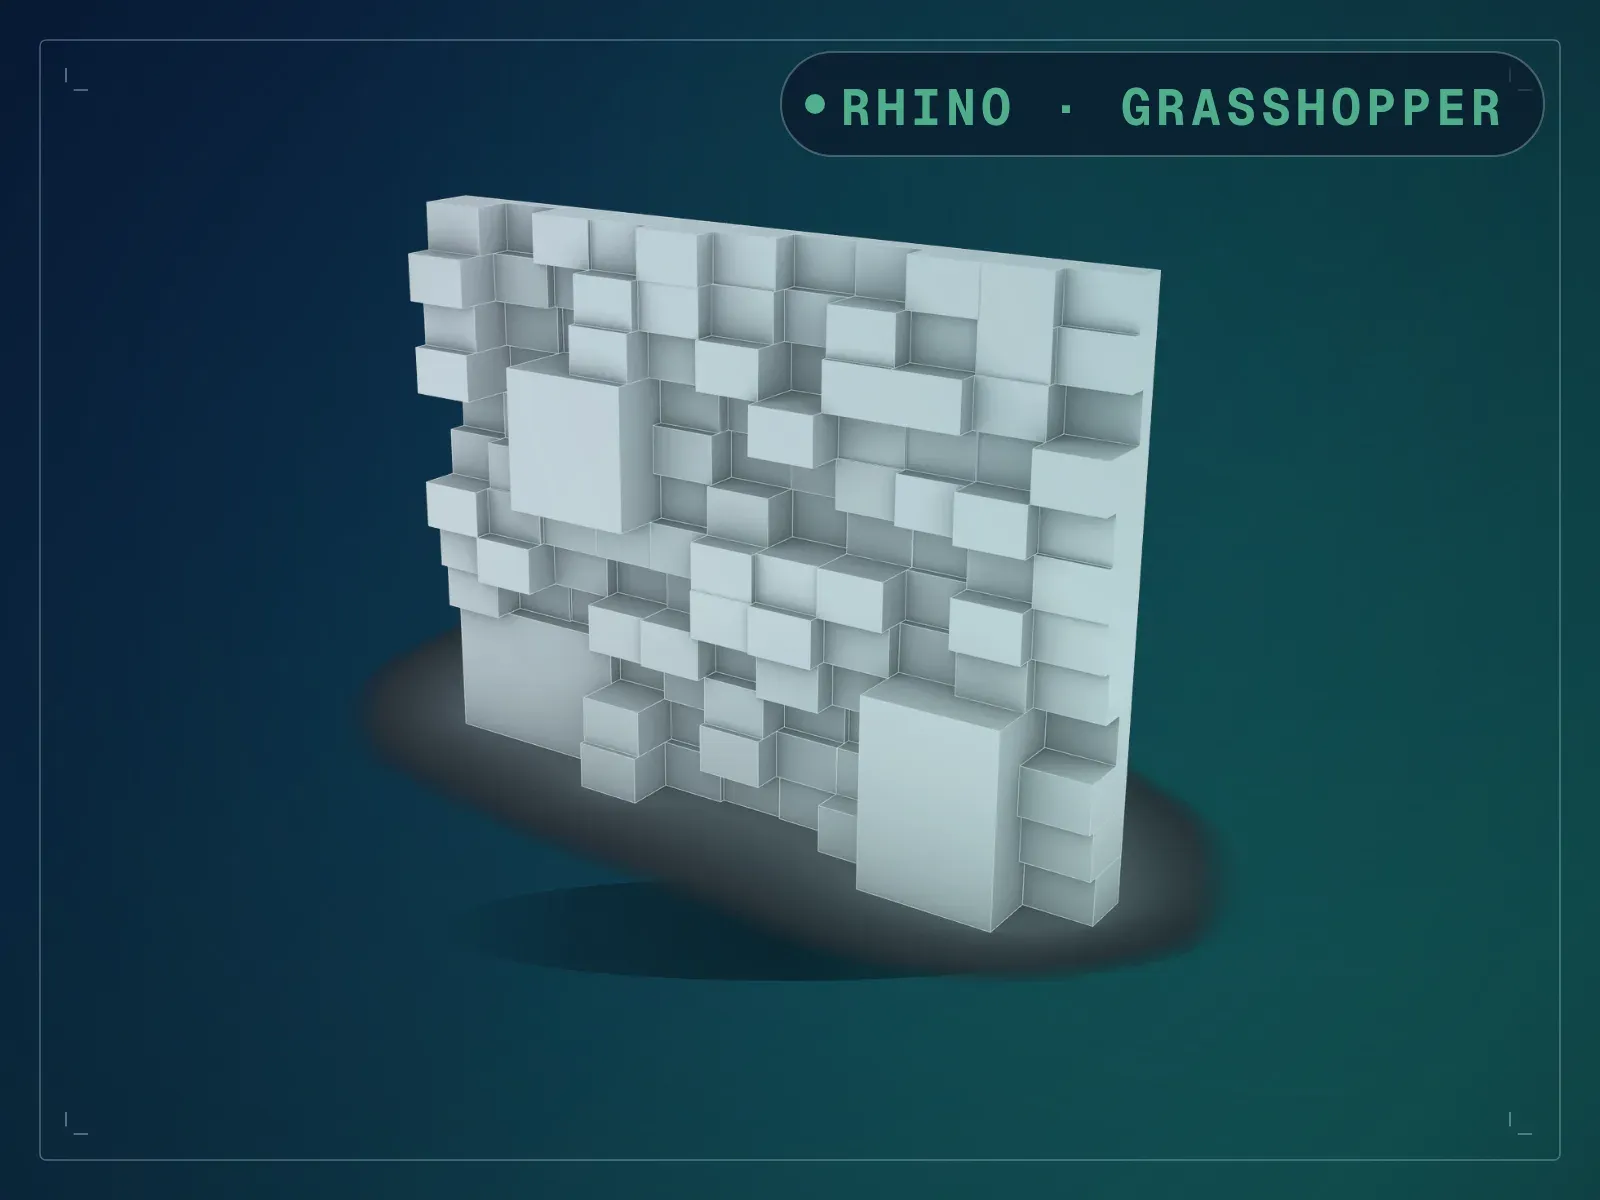
A panelised facade relief, steered by three attractors.
Instant download after checkout. All sales final. Digital products are non-refundable.
Doesn't work as described? Email hayder [at] hayderalbeer [dot] com and I'll fix it or send a replacement. No refund needed, just a working tool.
Version 1.0 · Prepared 2026-07
Demo
Screens
-
Built as a precast facade -
An 11x12 relief with three attractors -
The same relief square on -
The same facade with the attractors switched off -
A 22x26 grid with deeper extrusions -
The five main sliders in Grasshopper -
The controls for one of the three attractors -
Default or your own Rhino surface -
The whole definition in Grasshopper
What it does
Cubist Facade Generator Pro turns a flat surface into a relief of extruded panels. It divides the surface into a grid — 11 by 12 out of the box — and pushes every panel out by a random depth between a minimum and a maximum, with a single seed to redeal the whole field. What makes it more than a random wall is the three attractors. Each one is a point you drag across the surface on a pad, with its own on/off switch, its own reach in width and height, and a choice of Addition or Substraction. Panels whose centre falls inside an attractor’s reach leave the random field and move together as one block, so large calm faces read against the fine texture instead of noise everywhere. The base surface is either a rectangle you size with two sliders or your own planar surface picked straight out of the Rhino model, and the whole relief is trimmed back to that outline at the end, so a facade that is not a rectangle still works. Native Grasshopper throughout, nothing to install.
What is included
- Cubist Facade Generator Pro.gh — the definition itself, 152 components in named groups
- README.md — parameter list, requirements and licence terms
How it works
- 01
Open the .gh in Rhino 8 (Grasshopper 1, no plugins needed).
- 02
Leave Starting Surface on Default and size the rectangle, or switch it to Custom and right-click the Custom Surface parameter to pick a planar surface in your model.
- 03
Set the divisions and the min and max extrusion, then sweep Seed until the texture reads right.
- 04
Drag each attractor where you want it, set its reach and depth, and switch it to Substraction if that block should set back.
- 05
Bake the relief to Rhino breps and detail from there.
Parameters
The sliders and inputs the tool exposes.
Questions about this product
What exactly is in the download?
Two files: the .gh definition and a README. There is no sample .3dm and no installer — you open the .gh in Grasshopper and the relief appears in your own Rhino document.
What do the attractors actually do?
Each attractor draws a rectangle on the surface, sized by its Horizontal and Vertical Strength and centred wherever you drag its point. Any panel whose centre lands inside that rectangle is taken out of the random field and replaced by one block at the attractor’s own depth. Switch all three off and you get the plain random field — 132 panels at the default 11 by 12, one per division.
Can I use my own facade outline instead of a rectangle?
Yes. Set Starting Surface to Custom, right-click the Custom Surface parameter and choose Set one Surface, then pick a planar surface in Rhino. The finished relief is trimmed back to that outline, so a shape that is not rectangular still comes out clean.
Is this the same as the box massing tool?
No. This one works on a surface and carries its pattern in panel depth. Boxified Form Generator Pro builds a full three-dimensional massing from a grid of boxes.
Do I need any plugins?
No. It runs on native Grasshopper 1 in Rhino 8.